
One thing I have learned while returning to my O'Natural self is making sure to maintain healthy ends. That, of course, entails keeping them moisturized and keeping them trimmed. Since I recently gave myself a nice cut, I have noticed much fuller healthier hair. Of course, the information below is for those who feel comfortable trimming their own ends..if not, I highly recommend visiting a stylist who is educated and qualified to work with highly textured natural hair. So, here is my step by step on how I trim my natural hair. I have been using this method for over 2 years and I keep it pretty consistent.
STEP BY STEP PICTORIAL

Trimming Natural Hair. Very important throughout your journey and each person will vary for how often they choose to trim. For me, I now do small 1/4 mini trims every 2 months it keeps my tresses even more healthy, full and thriving. Because our ends are the oldest part of the hair, it's the most fragile and like anything else, they do have a shelf life. Once ends need to be trimmed, no amount of product or maintenance will help..so to keep hair in optimum form, dust those ends. And as always, I Hope this step by step of how I trim helps.
STEP 1
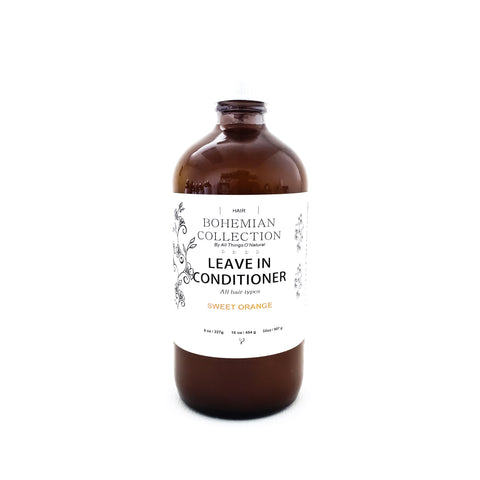
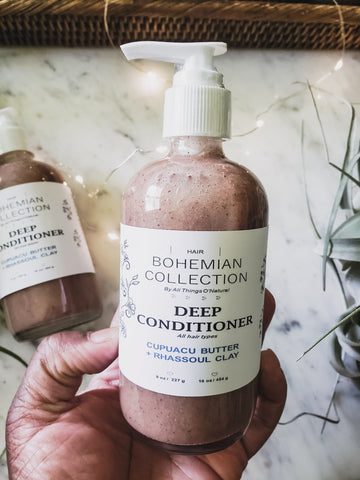
To soften hair, apply your favorite natural conditioner (I used my Natty Moist conditioner). Be sure to apply to edges and nape of the neck which are often neglected.
STEP 2:
To help with the process, place conditioned hair into sections. I either do 2 or 4 sections. Place a plastic cap onto hair for 30 minutes to allow the conditioner to soften and hydrate the hair.
STEP 3:
After allowing hair to condition. Remove plastic cap and prep for trimming. Starting with one section at a time, grab about an inch or more of hair, making sure to grab sections that are similar in length. Grabbing sections where the hair is uneven such as when you have layers may cause you to cut more hair than intended due to the length difference. Smaller sections makes it easier to work with and trim.
STEP 4:
Always keep the hair moist which makes it more pliable when manipulating the hair. Choose your favorite moisturizing mist or plain ole water and moisten the hair.
STEP 5:
Apply your favorite natural conditioner to the sectioned hair and be sure to thoroughly coat and work the conditioner through. Finger detangle to remove any knots. Again, the moisture helps with the process.
STEP 6:
Take your detangling tool of choice. I use my Denman detangling brush Beginning with your ends, begin gently detangling your hair working your way up to the roots. Always begin detangling at the ends
while holding your hair with your free hand to minimize snags and pulling. (I don't use detangling tools often, so this is one of the rare times I will use a tool, such as a brush to detangle. I normally finger detangle)
STEP 7:
Once the hair is nicely moisturized and detangled, place your free hand right above the desired amount of hair to trim. Trim the desired amount of hair. I normally trim about 1/4 to 1/2 inch of hair.
STEP 8:
Once that section is done, I twist (you can braid or simply pin out of the way) and repeat the process until my entire head has been moisturized, detangled and trimmed
STEP 9:
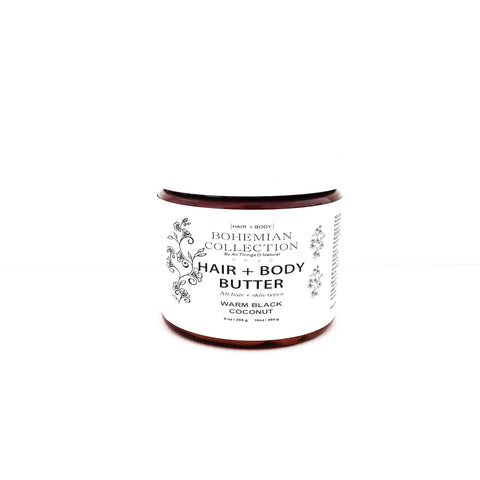
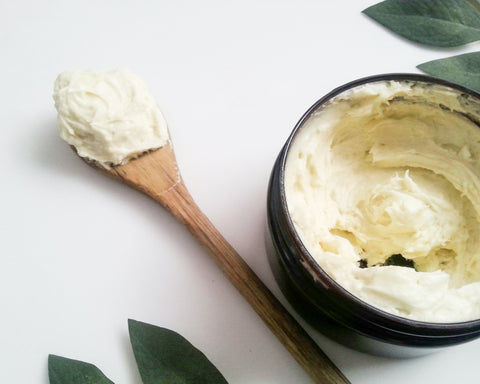
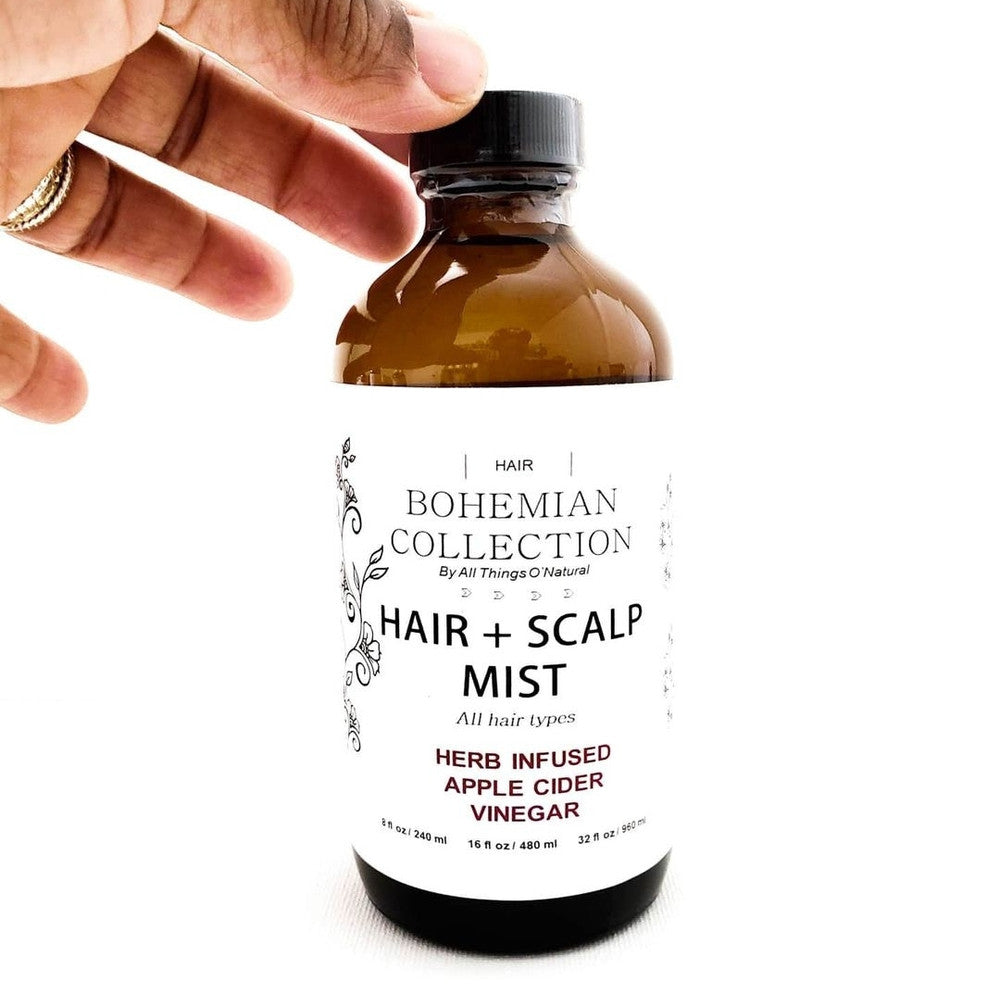
Once my entire head is moisturized, detangled, trimmed and twisted, I hop in the shower and allow the water to rinse the conditioner out, giving me a light co-wash. The beauty is that my hair is already sectioned, pre detangled and twisted. Once out of the shower, I will simply spray my hair with my Natty ACV Hair and Scalp Mist to help close the cuticles (aids in imparting shine, minimizing frizz, protecting the hair and scalp from mineral deposits) then apply my Natty Butter to lock/seal in moisture and voila..
Enjoy your beautiful Natural!!


Always a pleasure being informed and inspired naturally!!
Great tutorial! I was wondering how often and how much I should trim. Love your hair, it’s beautiful!